
Do you have a pet bird? Are you looking for a way to make a birdcage cover for it? This DIY project is very simple and inexpensive. In this blog post, we will show you how to make a birdcage cover. This tutorial is very easy to follow, and it does not require any special skills or tools. You can easily do this project with basic skills.
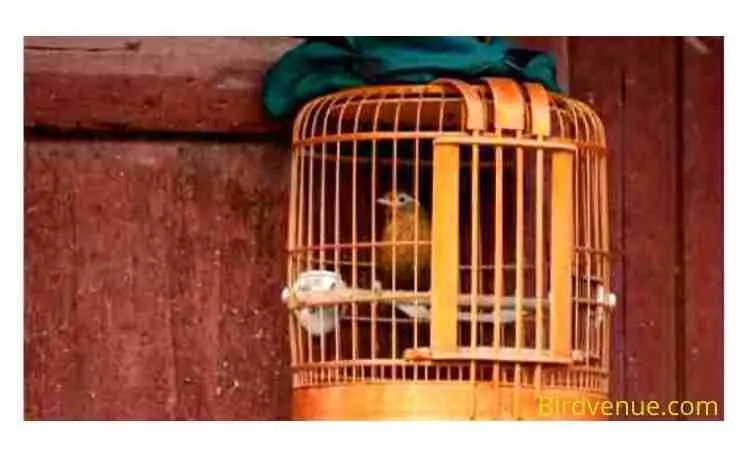
Why need a cover for the birdcage?
A birdcage is an essential item in every home. It helps keep your pet safe from the elements. However, when it rains, water gets inside the cage and causes damage to the bird’s feathers. The birds get wet, and their feathers become dirty. As a result, they lose their beauty. Also, it is used in cold weather when temperature get down from environment. To avoid such problems, you should consider making a birdcage cover. It is also used for night cover to protect the bird’s eyes from the light.
Materials needed:
- Fabric
- Velcro strips
- Scissors
- Glue gun
- Sewing machine
- Needle
- Iron
- Clothes pegs
Process On How To Make a Birdcage Cover:
Step 1: Cut the fabric into pieces
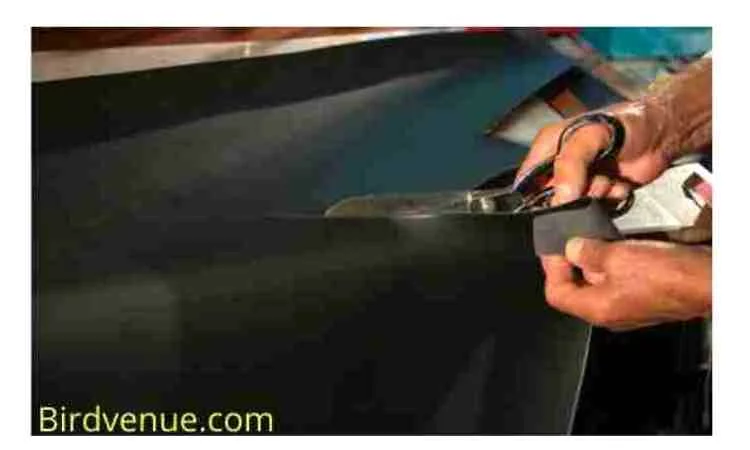
Cut the fabric according to the size of your birdcage. Make sure that the length of the fabric is at least twice as long as the height of the bird cage. Also, make sure that the width of the fabric is enough to fit around the entire circumference of the birdcage.
If you are using a regular sewing machine, then cut the fabric into four equal parts along the length of the fabric. If you are using a serger, then cut the fabric in half along the length of the material.
Step 2: Attach the Velcro strips
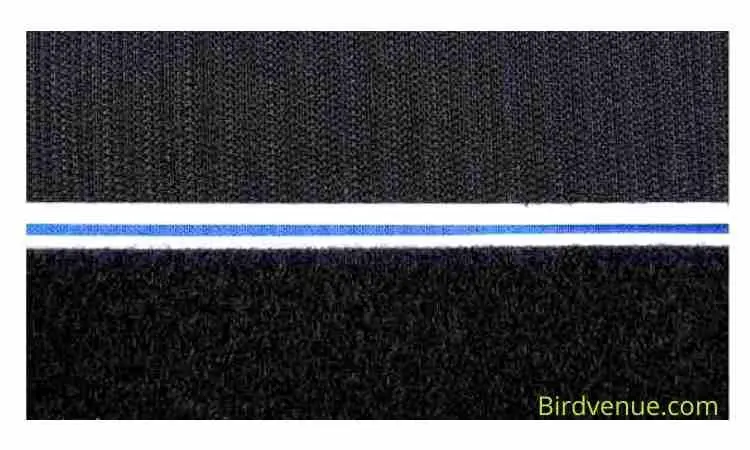
Attach two Velcro strips on each side of the fabric. Make sure that the Velcro strips are facing each other. Now attach them to the sides of the fabric.
Step 3: Fold the fabric
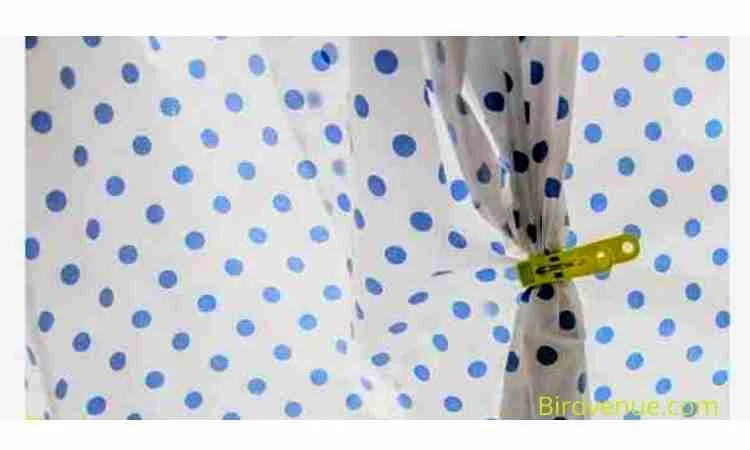
Fold the fabric so that the Velcro strips face downwards. Use clothespins to hold the fabric while folding it. Once folded, press the edges of the fabric using an iron.
Step 4: Sew the fabric

Sew the fabric together by stitching the edges of the fabric. Start from one end of the fabric and stitch all the way to the opposite end. When finished, turn over the fabric and sew the remaining part. Turn the fabric right-side out.
Step 5: Cover the birdcage
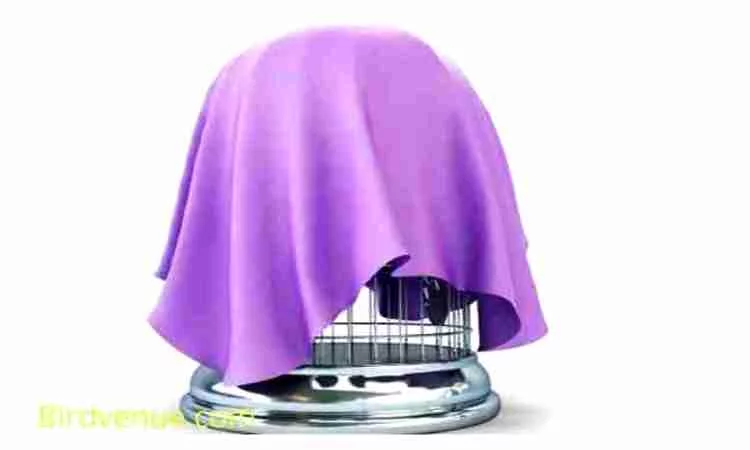
Put the birdcage cover on top of the bird cage. Make sure to put the Velcro strips on both sides of the bird cage. Once done, glue the corners of the fabric using a glue gun. Let the glue dry completely before removing the clothespins.
That’s it! Your birdcage cover is ready. Now you can enjoy watching your pet safe from rain and dust
Precaution :
- Make sure that the fabric is breathable fabric so that it doesn’t trap moisture inside.
- Do not leave the birdcage uncovered.
- Keep the fabric away from direct sunlight.
- Avoid using hot glue guns.
- Don’t forget to wash the fabric after completing the project.
How long does it take to make a birdcage cover?
It depends on the size of the birdcage. If you want to make a small birdcage cover, then it takes less time than if you were to make a big one.
Can I make my own birdcage cover?
Yes, you can make your own birdcage cover. All you need is a piece of fabric, scissors, and sewing thread. Follow our instructions above to complete the project.
What can be used as a birdcage cover?
You can use a birdcage cover from the pet supply store or a blanket or towel but you need to make sure that the cover is made from single-layer fabric, and lightweight and breathable fabric.
What kind of materials should I use to make a birdcage cover?
Any material will work fine for this project. We recommend using fabric because it is durable and easy to clean. But you can use anything else that you prefer.
Can I reuse my old birdcage cover?
Yes, you can reuse your old bird cage cover. Just be careful while cleaning the bird cage. Don’t apply too much force or you might break the cover.
Conclusion :
Birds are very adorable, and a birdcage cover will make more decorated and attractive your house. For making a birdcage cover easily, you can follow the above instruction. We hope you will make a beautiful bird cage cover with these simple steps.

