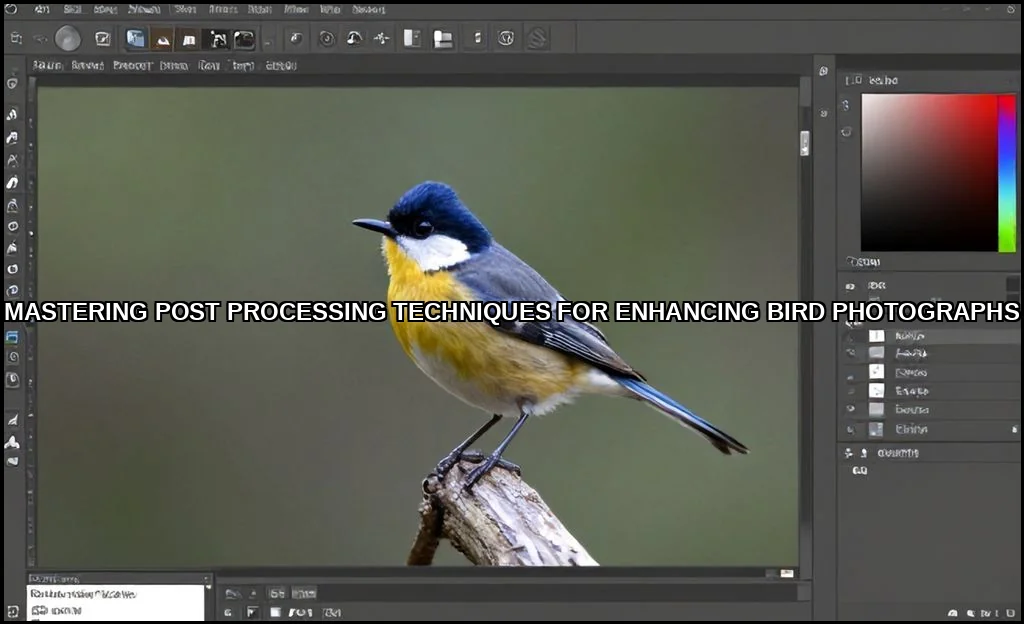
You’ve captured a stunning bird image. The composition is perfect, the moment is right. But the raw file looks flat. Feathers lack pop, the background is distracting, and the eye isn’t the sharp focal point you envisioned. This is where the real magic happens. Avian photography post-processing isn’t about creating a fake scene; it’s about revealing the beauty your camera saw but couldn’t fully render on its own.
The journey from a good RAW file to a great final image requires the right tools and a targeted workflow. For those starting out or seeking a streamlined, powerful option, many enthusiasts find success with PhotoPad Photo Editing software. It offers a surprisingly robust set of features for wildlife photo enhancement without the complexity of some professional suites. Whether you choose this or another tool, understanding the core principles is key.
Essential Software & Tools for Bird Photo Editing
Your toolkit defines your possibilities. Most serious bird photographers build a workflow around a primary editor and specialized plugins. The goal is to handle everything from global adjustments to pixel-level detail.
- Primary Editors: Adobe Lightroom and Adobe Photoshop remain the industry standard for a reason. Lightroom excels at cataloging and global RAW adjustments, while Photoshop is indispensable for complex masking and retouching. Alternatives like ON1 Photo RAW and Luminar Neo are gaining traction, often bundling powerful AI-based tools for sky replacement and object removal directly into the raw developer.
- Pre-Processors: High ISO is a reality in bird photography. Tools like DxO PureRAW and Topaz Labs Denoise AI can be used as a first step to apply superior noise reduction and optical corrections before you even open the file in your main editor. This preserves maximum detail.
- Specialized Plugins: The Nik Collection (particularly Sharpener and Color Efex Pro) and Topaz Labs’ Sharpen AI are legendary for feather detail sharpening. They allow for selective, intelligent sharpening that traditional tools can’t match.
Core Workflow: From RAW Import to Final Export
A consistent bird photography workflow prevents you from getting lost in sliders. Follow these steps in order to build a solid foundation.
- Lens & Profile Corrections: Always start here. Enable corrections for lens distortion, chromatic aberration, and vignetting. This cleans the slate.
- Basic Exposure & White Balance: Set your overall exposure, recover highlights, and lift shadows. Adjust white balance to ensure colors feel naturalthis is the first step in wildlife photography color correction.
- Global Color & Tone: Use the HSL/Color panel to subtly enhance the natural hues. Slightly boosting the saturation and luminance of a bird’s key colors (like a cardinal’s red) can make it stand out.
- Noise Reduction: Apply Luminance Noise Reduction carefully. Overdo it, and you’ll smudge precious feather detail. The goal is to smooth grain while retaining texture. This is where dedicated plugins often shine.
- Initial Sharpening: Apply modest global sharpening, typically using the Masking slider to restrict it to edges. This prepares the image for final output.
Bird-Specific Techniques: Feathers, Eyes & Beaks
This is where generic editing stops and bird photo editing begins. Each part of the bird requires a different touch.
- Feathers: The secret isn’t just sharpening; it’s local contrast. Use the Clarity or Texture slider locally on the bird’s body. For how to make bird feathers look sharp in Photoshop, techniques like High Pass sharpening on a masked layer offer unparalleled control. Always zoom to 100% to check you’re enhancing detail, not creating halos.
- Eyes: This is the soul of the image. To edit bird eyes to make them pop, use a very small adjustment brush or layer mask. Slightly increase exposure, add a touch of clarity, and carefully sharpen just the catchlight and iris. A subtle dodge burn can add depth.
- Beak & Feet: Often overlooked, these areas benefit from slight texture enhancement and careful cleaning of any distracting debris (using the spot healing tool).
Remember, ethical avian image retouching means enhancing what was there, not adding what wasn’t. You can learn more about bird health and behavior, which directly informs ethical portrayal, by reading about how disease does affect birds in the wild.
Advanced Masking & Local Adjustments for Wildlife
Global edits affect the entire frame. Great bird photography is defined by Selective Adjustments. Modern tools have made this easier than ever.
- Sky & Background Masks: Lightroom and Camera Raw now feature AI-powered Select Sky and Select Subject masks. Use these to separately adjust the exposure and color of a bland sky or to clean up bird photo background distractions by lowering clarity or saturation behind the bird.
- Subject Masks: Isolating the bird allows you to apply adjustments without touching the environment. This is perfect for targeted sharpening, noise reduction, or color vibrancy.
- Depth Masking: Some newer editors and cameras can utilize depth maps to create masks based on distance. This is a game-changer for separating a subject from a busy background with similar colors, allowing for precise improve bird pictures in Lightroom workflows.
- Gradient & Brush Tools: Never underestimate a simple radial gradient to darken the corners and guide the viewer’s eye, or a brush to paint light onto a shadowed side of the bird.
Before/After Examples & Common Pitfalls to Avoid
Let’s visualize the process. Imagine a before shot: a hawk perched on a branch, backlit, with a cluttered, bright background. The bird is dark, the feathers are muddy, and a stray twig draws the eye.
The “after” is achieved through our workflow: exposure lifted on the bird (via a mask), background darkened and desaturated, the twig removed with the healing brush, and feather detail brought out with localized texture. The eye is brightened. The transformation is dramatic but believable.
Pitfalls to Sidestep:
| Pitfall | Result | Solution |
|---|---|---|
| Over-sharpening | Harsh, crunchy edges & halos | Sharpen on a layer mask, view at 100%, use Smart Sharpen. |
| Excessive Clarity/Dehaze | An unnatural, grimy look | Use subtly (+5 to +15 max). Often better applied locally. |
| Over-saturated Colors | Neon, unrealistic plumage | Reference your memory of the scene. Boost luminance over saturation. |
| Aggressive Noise Reduction | Loss of all feather texture (the “plastic” look) | Balance noise reduction with texture/clarity. Use dedicated AI tools. |
For a deeper dive into general post-processing philosophy, this authority guide is an excellent resource. And if capturing birds at home is your passion, using one of the best birdhouses with cameras can provide endless practice material for your editing skills.
Bringing Your Vision to Life
Post-processing is the final, critical phase of bird photography. It’s the craft that supports the art. You start with a RAW filea digital negative full of potential. You apply a disciplined workflow, then use advanced, selective tools to direct attention and reveal detail. The aim is always authenticity. A final image where the feather barbs are distinct, the eye sparkles with life, and the background supports without competing. That’s the hallmark of skilled Photoshop bird feather detail work and thoughtful global adjustment. Your camera captures the moment. Your editing reveals the story. Now go bring those hidden details to light.
