Mastering the Art of Photographing Rare and Elusive Birds
Contents
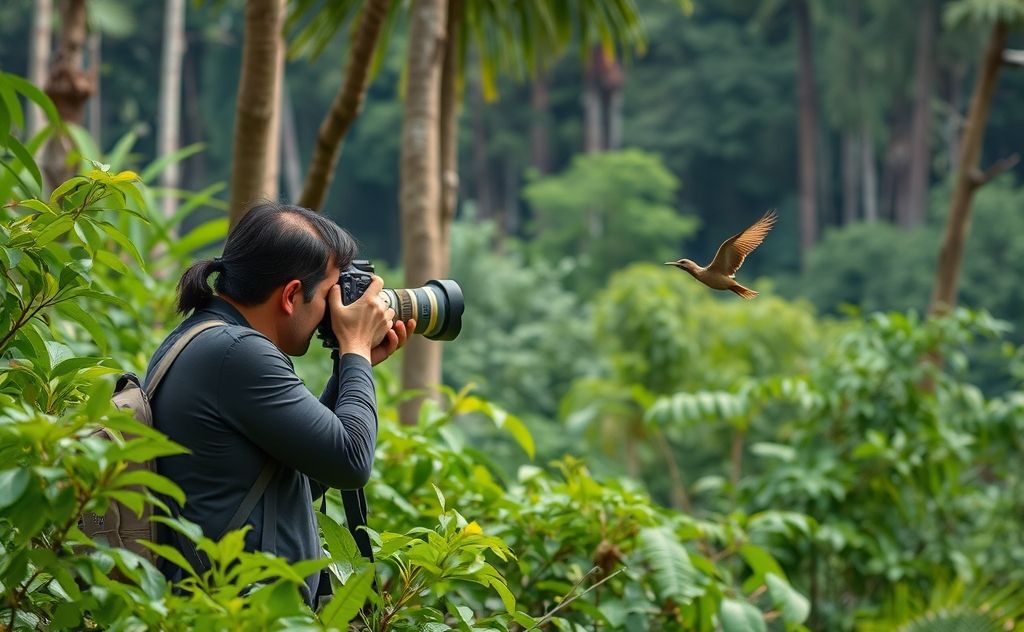
You’ve been standing in the same damp spot for three hours. The light is fading, your coffee went cold, and the only thing you’ve seen is a common grackle. Then, a rustle in the undergrowth. A rare warbler hops onto a low branch, looks at you, and before you can even lift your camera, it’s gone. That’s the heartbreak of bird photography. It’s not like landscape work where the scene waits for you. Rare birds don’t care about your schedule.
This guide is about closing the gap between luck and skill. You’ll learn how to find rare species by reading habitat and behavior, how to approach them without spooking them, and which camera settings actually matter when you get a three-second window. I’m also going to walk you through the gear that helps, including a phone lens that has saved my shot more than once when my big glass was back at the car.
APEXEL
APEXEL 10X Tele-Macro Pro Dual Lens 2-in-1…
- 【10X Telephoto & Macro 2-in-1 Lens】Experience the power of two professional lenses in one. This dual lens combines a 10X telephoto…
- 【Superior Optical Clarity & Sharpness】Featuring a complex 12-element optical structure with full-surface multi-layer coating, this…
- 【Lightweight & On-the-Go Ready】Weighing only 5.12 oz, this clip-on telephoto lens for Phone is incredibly lightweight and portable…
After you read this, you’ll stop wasting hours on random trails and start working specific micro-habitats with a plan. You’ll know when to move, when to freeze, and how to come home with sharp images instead of blurry evidence that you saw something special.
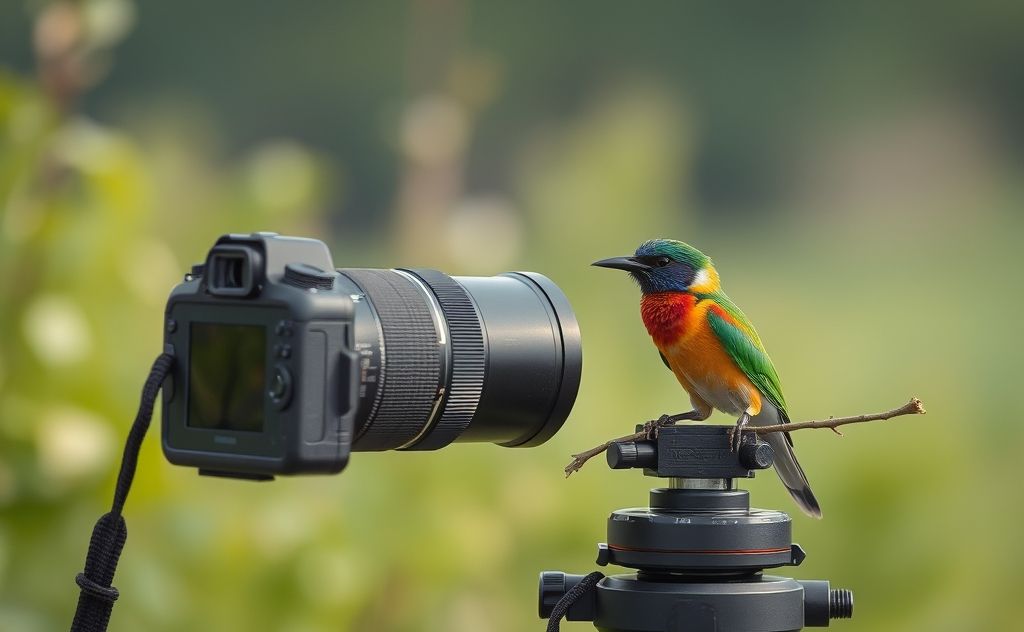
For those days when you’re hiking light or you spot a bird right after packing up your DSLR, a clip-on telephoto lens for your phone is a practical backup. The APEXEL 10X Tele-Macro Dual Lens turns your iPhone into a field tool that reaches 10x magnification. It clips on in seconds, weighs almost nothing, and the macro mode focuses at 8 inches, so you can also grab close-ups of a nest or insect without scaring off the subject. It’s not a replacement for a 600mm prime, but it’s saved me from missing a documentation shot on more than one occasion.

Finding the Bird: Habitat Reading Over Random Hiking
Most birders miss rare birds because they walk too fast through the wrong places. A rare bird is rare for a reason. It needs a specific food source, nesting structure, or water condition. Your job is to find that condition, not the bird.
Start with the edge effect. Ecotones, the transition zones between forest and meadow or wetland and dry scrub, hold more species per square meter than interior habitat. A rare warbler might only use the dense shrub layer where insects are abundant. Walk slowly along these edges and pause for five minutes at every bend. Birds often move toward you if you stay still.
Listen for mobbing calls. When a small group of chickadees or wrens starts scolding loudly, they’ve usually cornered an owl or a hawk. That commotion attracts other rare species too. A Townsend’s warbler might join the mob just to see what’s happening. Follow the noise.
Water is your best ally. A small, muddy puddle in a dry forest attracts more birds than a large lake. Rare sparrows and thrushes come down to bathe in the early morning. Find a seasonal seep or a cattle trough with a trickle of water, sit 20 meters away with your back against a tree, and wait. You’ll see more rare birds in one hour at a water source than in a week of walking trails.
One more tactic: learn the specific fruiting trees in your region. A single mulberry tree or a patch of poison ivy berries can pull in rare migrants for a day. When a rare bird has been reported in your area, check the local fruiting plants first. That’s often where they’re holding.
Approach and Concealment: The Art of Not Being Seen
Birds see more colors than you do, including ultraviolet light on their feathers. They also detect movement faster than any mammal. Your camouflage clothing helps, but your behavior matters more. A motionless person in a bright shirt gets closer than a twitchy person in full camo.
Walk toward the bird only when it’s feeding with its head down or preening. Move when the bird is distracted. Then freeze when it looks up. This isn’t just folklore; it works because you’re matching your movement to the bird’s natural rhythm. Take two steps, freeze, wait for the bird to relax, take two more steps.
Use natural cover to break your silhouette. A bush, a fallen log, or even a large fern between you and the bird makes a huge difference. You don’t need a blind. You need to look like part of the landscape, not a predator shape.
Wind direction matters more than most people think. Birds use scent less than mammals, but they feel air pressure changes. Approach with the wind in your face so your scent doesn’t drift toward them. On a calm morning, you can get closer than on a breezy one because the air isn’t carrying your signal.
If the bird flushes, don’t chase it. That burns its energy and teaches it to fly farther next time. Instead, mark where it landed, back off a hundred meters, and sit down for ten minutes. Often it will return to the same perch or feeding spot. Patience after a flush is the difference between a one-time sighting and a photo session.
Camera Settings That Matter in the Field
You don’t have time to fiddle with menus when a rare bird appears. Set your camera up before you enter the field. Here’s what I use for almost all elusive bird work.
Shutter speed is your priority. For a perched bird, you need at least 1/500s to freeze subtle head movements. For birds in flight, start at 1/2000s and go up from there. A sharp image at a high ISO beats a blurry one at a low ISO. Don’t be afraid of ISO 3200 or 6400 on modern cameras. The noise is easier to fix in post than motion blur.
Aperture depends on distance. If the bird is close, under 10 meters, use f/5.6 or f/8 to get the whole body in focus. If it’s far away, open up to f/4 or f/2.8. The background will blur anyway at that distance, so you don’t need a wide aperture for separation.
Use single-point autofocus, not zone or area mode. Place the point on the bird’s eye. The eye is the first thing the viewer looks at. If the eye is soft, the image fails, no matter how good the rest of the frame is. Practice acquiring the eye quickly by photographing common birds first.
Shoot in burst mode. Three to five frames per second is enough for perched birds. For flight shots, you need 10 frames per second or more. The moment of a head turn or wing position is unpredictable. A burst gives you options.
Set your drive mode to continuous and your focus mode to back-button autofocus. This lets you track the bird without accidentally locking focus when you press the shutter. It takes a day to get used to, but it’s the single best change I made to my setup.
Timing and Seasonality: When to Be Where
Rare birds are often migrants. They pass through specific regions during narrow windows. Knowing the timing for your area is half the battle. In North America, spring migration runs from late April to early June, and fall migration from late August to early November. The peak days vary by species and latitude.
Morning is the golden window. Birds feed heavily in the first two hours after dawn to recover from the night. They’re also more vocal then, which makes them easier to locate. By mid-morning, activity drops off sharply. Plan to be in position at first light, not just arriving at first light.
Weather fronts push birds down. After a cold front passes, migrating birds that were flying overnight will drop into the nearest suitable habitat to rest and feed. Check the weather radar the night before. If a front came through, hit the local birding hotspots at dawn. This is when rare species show up in unexpected places.
Overcast days are better than sunny ones. Diffused light means fewer harsh shadows and more even exposure. Birds also stay active longer on cloudy days because they feel less exposed to predators. A light drizzle can be excellent, as birds bathe and preen more.
The breeding season, from late spring to mid-summer, is the easiest time to photograph rare birds because they’re defending territories and singing from exposed perches. Learn the song of your target species. When you hear it, you know exactly where to look. Playback of calls is illegal in many areas and unethical in all of them. Don’t do it. Your patience will be rewarded with natural behavior instead of a stressed bird.
Comparing Gear Approaches for Elusive Bird Photography
| Gear Setup | Effective Range | Best Use Case | Trade-offs |
|---|---|---|---|
| DSLR + 600mm f/4 | 20-80 meters | Open wetlands, shorelines, flight shots | Heavy (5 kg+), requires tripod, expensive |
| Mirrorless + 400mm f/5.6 | 10-40 meters | Forest edges, trails, mid-distance | Lighter, but still needs support for long sessions |
| Bridge camera (1-inch sensor) | 5-30 meters | Travel, backup, casual outings | Smaller sensor, less detail in low light |
| Smartphone + clip-on telephoto | 2-10 meters | Backup, close encounters, macro of insects/plants | Limited reach, no optical zoom, relies on good light |
There’s no perfect system. I carry a mirrorless body with a 100-400mm zoom for most days. It’s flexible enough for a bird that lands close or far. But when I’m hiking to a remote location and already carrying water and snacks, the phone clip-on lens stays in my pocket. It’s the difference between having a mediocre photo and having no photo at all.
Ethics: Don’t Be the Reason It’s Rare
Rare birds are rare because their populations are small. Your presence can push them out of a critical feeding area or cause them to abandon a nest. The photo is not worth that cost.
Keep your distance. If the bird changes its behavior because of you, you’re too close. Signs include freezing, tail flicking, or flying to a farther perch. Back off slowly and wait for it to settle.
Never bait with food to pull a rare bird into the open. This alters its natural foraging patterns and can expose it to predators. I’ve seen photographers throw mealworms at an owl to get a flight shot. It’s irresponsible and often illegal.
Respect private property and posted signs. A rare bird doesn’t give you the right to trespass. The reputation of birders suffers when a few people ignore boundaries.
Share location information carefully. A widely publicized rare bird sighting can bring dozens of photographers. That pressure can stress the bird to the point of abandoning the area. Tell a friend, not a Facebook group, until the bird has moved on.
Frequently Asked Questions
What is the best shutter speed for a bird sitting still?
Start at 1/500s. Birds make tiny head movements constantly, even when perched. If you have a longer lens (400mm or more), use 1/1000s to counter lens shake. For a sleeping bird, 1/250s might work, but you’ll get sharper results with a higher speed.
How close can I get to a rare bird before it flies?
It depends on the species and its history with humans. A bird in a city park might tolerate 5 meters. A bird in a remote wilderness might flush at 50 meters. Watch the bird’s body language. If it’s looking at you with one eye and its head is lowered, you’ve already crossed the line. Back off.
Is it better to use a tripod or shoot handheld?
For most field work, a monopod is the sweet spot. It takes weight off your arms without slowing you down like a full tripod. For birds in flight, go handheld. You need the freedom to track. For a perched bird in low light, a tripod with a gimbal head is unbeatable.
What do I do if the light is too dark for a fast shutter speed?
Raise your ISO first. Modern cameras handle ISO 6400 well. If you’re still short, open your aperture wider. If your lens is already at f/2.8, then slow down to 1/250s and brace yourself against a tree or rock. A slightly blurry image is better than a black one.
Can I use a phone lens for serious bird photography?
For documentation and close encounters, yes. The techniques for capturing birds in flight still apply to phones, but you’ll struggle with fast action. The 10X telephoto will give you a decent shot of a bird at 10 meters. It shines for macro work on nests, feathers, and insects. It’s a backup tool, not a primary one.
Your Action Plan for the Next Field Trip
- Scout a water source or fruiting tree the day before. Go there at dawn, not to a random trail.
- Set your camera before you leave the car: shutter priority, 1/1000s, single-point AF, burst mode.
- Walk slowly along edges. Stop every 50 meters and wait five minutes.
- Listen for mobbing calls. Follow the noise.
- Keep your clip-on telephoto lens in your pocket for the unexpected close encounter.
- If you flush a bird, sit down and wait. It often returns.
- Review your shots at home and note what you missed. The next trip is where you improve.
Rare birds test your patience and your skill. The ones that stick around for a photo are the ones you earned through quiet observation, not aggressive pursuit. Learn the habits, respect the bird, and the image will come. For those days when the bird wins, there’s always the next morning. Check out the anatomy and adaptations of raptors to understand how predators move, which helps you predict their next perch. And if you’re curious about how different species behave socially, the social dynamics of green singing finches offer a fascinating look at why some birds are more visible than others.