Some people keep their pet birds in cages for fun, but others don’t like it at all. What’s your opinion? Should they not be caged? If you keep them in cages, then eventually, you’ll be forced to let them go free. A caged bird doesn’t need to be treated cruelly if its environment is comfortable. Caging them may be an option for some people. But you could use wire to create an inexpensive birdcage for birds if you wanted. In this blog post, we will discuss on how to make a birdcage out of wire.
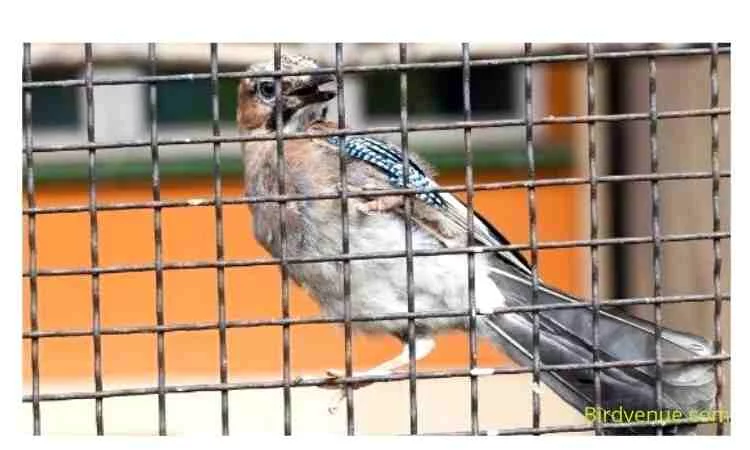
Materials needed:
- Wire
- Scissors
- Pliers
- Pencil
Step-by-step guidelines on how to make a birdcage out of wire
Step 1: Draw out the design and estimate its dimensions:

You can draw out the design on paper first before cutting it out. You can also use a CAD program (Computer-Aided Design) software to do that. Try to measure the cage as accurately as possible so that you won’t have any problems when making it later. Measure the height and width of the bars and the length of the bars from one end to another. Make sure that the bars are long enough to allow the bird to fly around freely.
Step 2: Make the desired frame:
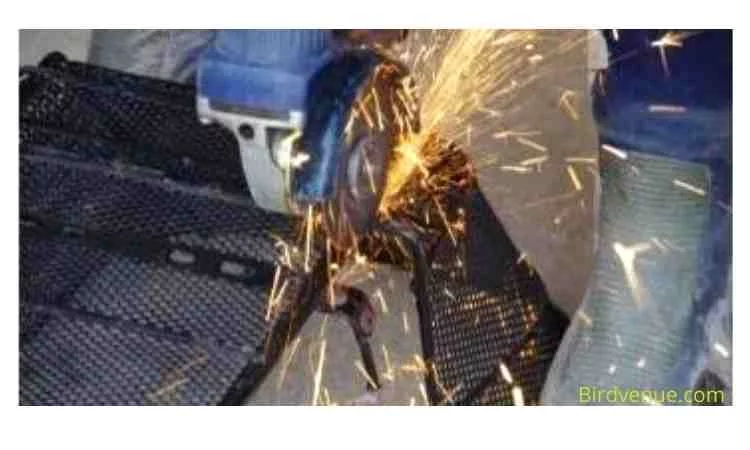
If you want to make a simple cage with only two sides, cut the wire using a wire cutter into two equal pieces. Then bend each piece in a U shape or fold it into a U shape. The ends should meet together and form a circle. Now connect the two U-shaped wires together by bending them over each other. This forms the base of the cage. Repeat the same process for the second side of the cage.
By following the instruction, you can make five or more frames at a time.
Step 3: Attach the wire to the frame:
Attach the wire to the frame using pliers. Use a pencil to mark where you attach the wire. It helps to place the marks on both sides of the bars so that you can easily see which way to turn the wire. Once you’ve attached the wire to the frame, give it a try by placing the bars inside the cage.
Step 4: Make a door:
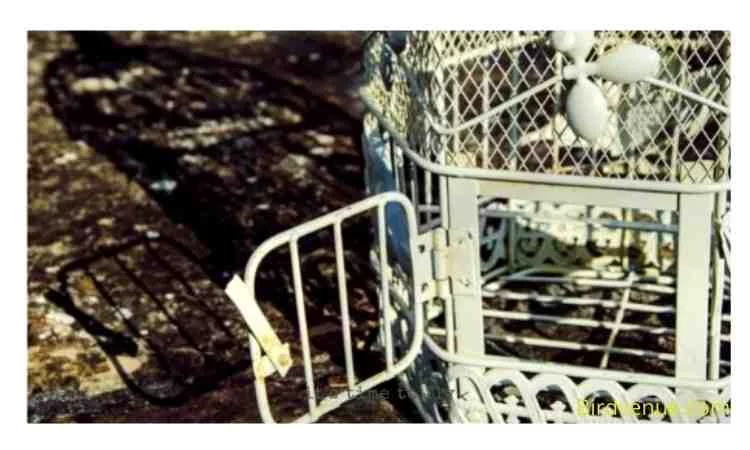
The door of the cage has to be able to open and close smoothly. To achieve that, you can either make a hinge or use a hook. Hinges work better than hooks because they’re easier to install. However, hooks are cheaper than hinges. So, choose whichever one suits your needs.
To make a hinge, start by folding a small strip of wire in half. Bend the folded part back and forth until it looks like a hook. Place the hook on top of the bars and insert it through the hole. Pull the hook down and push it up again to tighten the connection between the bars and the hook.
To make a hook, fold a small strip of wire in half. Fold it again and again until it becomes a loop. Insert the loop through the holes on the bars and pull it downwards. Push it upwards to secure it.
Step 5: Attach the cut wire with a hole:
Then you will need to cut the wire near the bottom of the cage. Cut the wire in such a way that there’s a hole in the middle of the bar. This allows air to pass through the cage.
Now, take the wire and thread it through the hole in the bars. Twist the wire tightly to prevent it from falling off.
Step 6: Join the frame perfectly:
Once you’ve made the cage you need to join the frames together perfectly. This ensures that the cage won’t fall apart even after years of usage.
Start by joining the two halves of the cage together. First, twist the two halves together. Then, wrap a piece of string around the entire cage. Wrap the string tightly around the cage so that no gaps are left.
Step 7: Add some decorations:
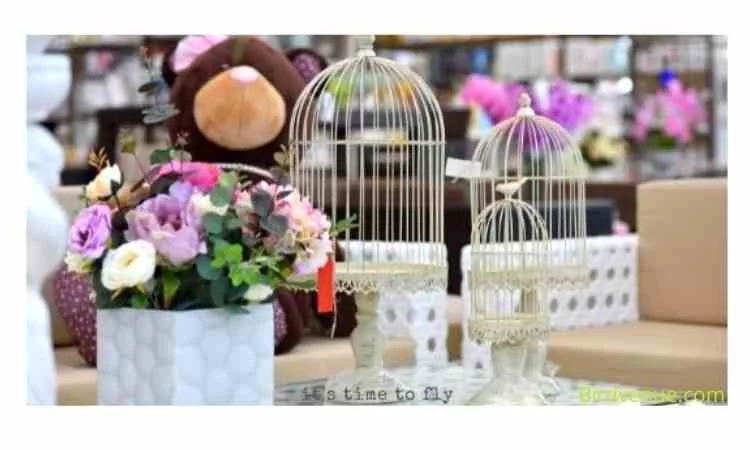
There is nothing wrong with adding some decoration to the cage. Some people add a wooden picture of their pets or birds, while others just leave it empty. Decorations don’t really matter much, but if you feel like decorating your cage, then go ahead and do it.
Step 8: Provide food and water:
You might have noticed that most birdcages come with an opening for food and water. You can also provide these things to your pet. If you want to feed your bird, put the food dishes in the cage before putting them in the aviary.
Precaution
- The wire should be smooth so that no injuries can affect the bird’s foot.
- Before making a wire birdcage you should remember that the wire is strong enough to support the bird’s weight and the wire should be thin to allow enough air circulation to the cage.
- After completing the birdcage you need to remove sharp objects like scissors, knives etc. from near the birdcage.
- After completing the birdcage keep the cage in a safe place so that predators can’t attack your pet bird.
Maintenance of wire birdcage
It is important to maintain the cage properly as it could affect the health of your bird. Here are some tips to keep your cage clean and free of germs.
- Clean the cage regularly: Cleaning the cage is very important. But, cleaning it too often may damage its structure. Clean the cage properly once every week. Remove all the debris from the cage and wash it thoroughly.
- Keep the cage dry: Dampness in the cage can cause mold growth. So, it’s best to keep the cage dry at all times.
- Check the temperature: If the temperature in the cage is too cold, it can harm your bird. Make sure the cage is kept at a comfortable temperature.
- Maintain proper humidity: Humidity in the cage should be maintained at about 60%. If the humidity level falls below this, it can cause respiratory problems in your bird.
- Use a good quality cage liner: A good quality cage liner helps in keeping the cage clean and prevents any messes. It also keeps the cage warm during the winter months.
- Change the bedding material: Change the bedding material once every few weeks. The old bedding materials can get dirty easily.
- Do not use toxic chemicals: Never use toxic chemicals inside the cage. These chemicals can harm your bird in many ways.
- Keep the cage away from direct sunlight: Direct exposure to sunlight can make your bird sick. So, avoid placing the cage outside in direct sunlight.
- Keep the cage away from rain: Rainwater can enter the cage through the holes in the roof. So, keep the cage away from the rain.
Which wire cage is safe for a bird?
The wire is one of the safest materials used for building cages. Wire cages are made up of galvanized steel wire. This metal has been tested by various laboratories and found to be completely safe for birds. Galvanized wire comes in different sizes, shapes, thicknesses, etc.
What size cage do I need for my pet bird?
The size of the cage depends upon the number of birds you wish to keep. Generally speaking, if you plan to keep two or three birds, then a small cage will suffice. On the other hand, if you have four or five birds, then a medium-sized cage would work better.
How much space do my birds need?
The amount of space needed by each bird depends on their age, weight, species, etc. You must first determine the ideal space required for each bird. Then, calculate the total space required by all the birds together.
Can a wire cage be harmful to my pet bird?
No, wire birdcage is not harmful to your pet bird. Make sure that it has enough space inside the cage and air can easily allow into the cage.
Can I use a bottom liner inside the wire birdcage?
Yes, you can use a bottom liner inside the birdcage. If you put a liner the bird will play with it and it feels happy. You can use a wooden or plastic liner which is the most popular liner for birdcages. But we recommend using a wooden liner. Sometimes plastic liners may affect birds’ health.
Is plastic birdcage safe for birds?
Plastic is another popular choice among pet owners. However, there are some types of plastics that are harmful to birds. Some of these include polyvinyl chloride (PVC), polyethene (PE), and polypropylene (PP). PVC is known to contain phthalates, while PE and PP are known to contain Bisphenol-A (BPA). Phthalates and BPA are both endocrine disruptors. These substances can affect the development of your baby birds. Therefore, it is advisable to choose only those plastics which are free from these harmful compounds.
Final verdict:
Cages are essential for keeping birds as pets. There are several factors that influence to make of a wire cage. In this blog post, we discussed how to make a wire birdcage. We hope that our article helped you to make a wire birdcage for your own bird.
